Introduction
Hanukkah is Jewish Festival of Lights. It runs for eight nights. Each Night Families and friends gather to add light. If you want learn how to light Hanukkah candles, this complete guide will walk you through every step in plain, simple language. The guide is built to be friendly for beginners, families with children, and anyone planning a public menorah event in a European city. You’ll find a printable cheat-sheet idea, detailed step-by-step lighting instructions for nights 1–8, the Hanukkah blessings with easy transliteration and translations, timing rules (including what to do on Fridays / Shabbat), child-friendly scripts, safety tips, and ideas for local events in cities like London, Paris, Berlin and Amsterdam.
What you need
Here are the simple items you will use when you learn how to light Hanukkah candles.
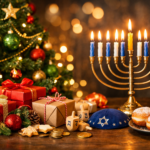
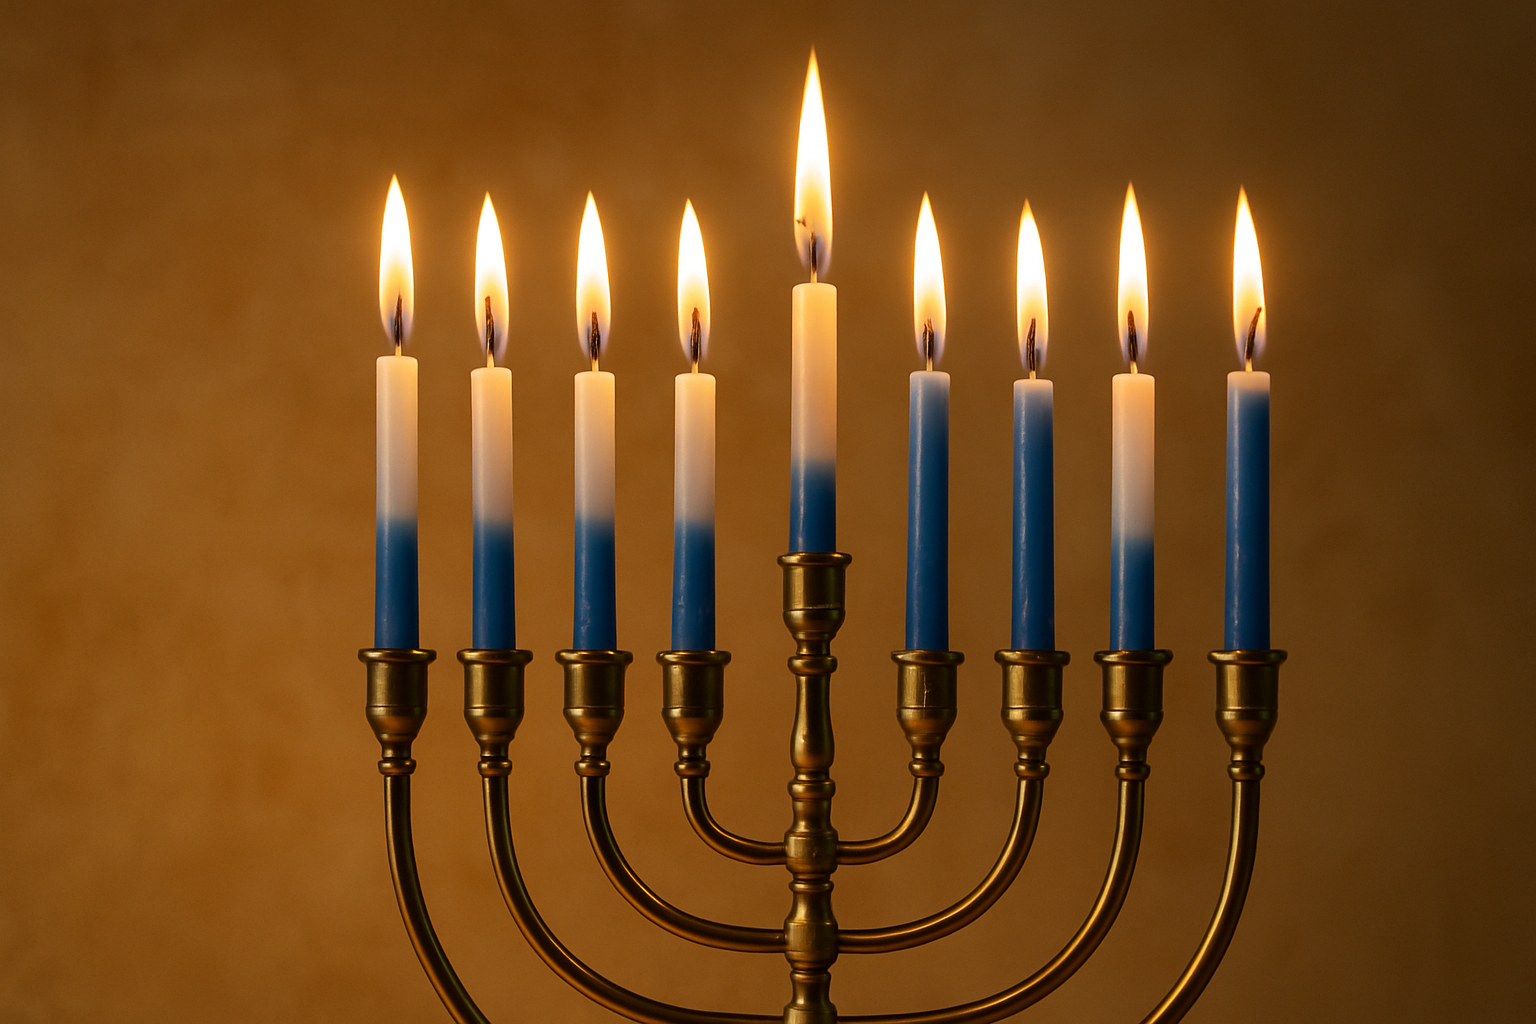
- Hanukkiah (menorah) — a nine-holder lampstand: eight holders for the nights + one shamash (helper).
- Shamash candle — the helper candle used to light all the others. Do not count the shamash as one of the eight.
- Candles or small oil lamps — olive oil is traditional and beautiful; wax candles are easy and widely available. Pick lights that will burn long enough for your timing custom.
- Matches or a lighter — long utility lighters are good for safety.
- Heat-safe surface — a table or shelf that won’t catch fire; avoid curtains or papers near the menorah.
- Safety items — a drip tray to catch wax, child-safe holders for little hands, and a small extinguisher for public events.
Step-by-step lighting instructions — nights 1–8
Short overview — the key pattern
- Set candles right → left when placing them.
- Light with the shamash candle left → right, starting with the newest candle (the leftmost one on that night).
- Blessings are said before lighting. On night 1 say three blessings; on nights 2–8 say two.
Below is a very clear, reproducible sequence you can follow and publish on your site as a HowTo block.
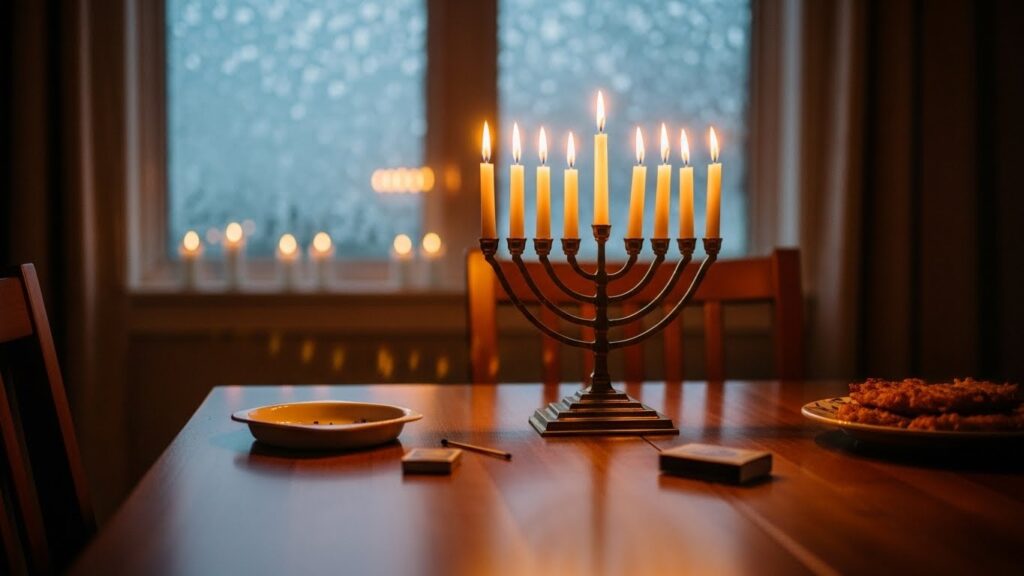
1 — Choose the place
Choose a spot where people will notice the light. If you want to publicize the miracle (pirsumei nisa), place the hanukkiah near a window facing the street. If not, place it where your family gathers — a dining table or mantel. Make sure the space is stable and safe.
2 — Set the candles (right → left)
Insert the candles from the right side to the left. On night two, add the second candle to the left of the first. On night three add a third candle to the left of those, and so on. The newest candle always goes furthest to the left.
3 — Light the shamash
Light the shamash first. This is your “working” light that you will use to ignite the rest. Some hanukkiahs have the shamash in the center or raised slightly; others have it offset. The shamash is not one of the eight lights.
4 — Say the blessings (before lighting)
Stand in front of the hanukkiah and recite the blessings out loud. Keep the text visible on your page and add an audio button so readers can hear the correct pronunciation. The blessing texts are below.
5 — Light the candles (left → right)
Using the shamash, light the newest candle first (the leftmost candle for that night). Move from left to right lighting each candle in turn until you have lit all the candles for that night.
6 — Let the candles burn safely
Leave the candles to burn. The common custom is to let them burn for at least 30 minutes after nightfall. Do not move the hanukkiah while the candles are burning. Keep candles away from flammable objects and out of reach of children and pets.
The Hanukkah blessings — Hebrew, transliteration & English
Offer these on your page with copy buttons and audio. They are short and easy to learn.
Blessing 1 — recited every night before lighting
Blessed are You, Lord our God, King of the universe, who has sanctified us with His commandments and commanded us to kindle the Hanukkah light.
Blessing 2 — recited every night
Blessed are You, Lord our God, King of the universe, who performed miracles for our ancestors in those days at this season.
Blessing 3 — Shehecheyanu
Blessed are You, Lord our God, King of the universe, who has given us life, sustained us, and enabled us to reach this season.
Timing, rules & how to light the menorah on Fridays
When to light — clear guidance
- The typical practice is to light after sunset. Some communities wait for nightfall (when three stars are visible).
- If you light earlier than sunset — for example on Friday afternoon before Shabbat — make sure the lights will remain burning through the required period. Use longer-burning candles or more oil.
How long must the lights burn?
Many people follow a practical rule: the lights should be visible for at least 30 minutes after nightfall. Some traditions ask for longer. If you are in doubt, check with a local rabbi or community leader.
Special rule — lighting near Shabbat
Because lighting a flame is not allowed during Shabbat, when Hanukkah falls on Friday people often light the hanukkiah before sunset on Friday. They may use oil lamps or thicker candles so the flame will continue to burn into the night. Always make sure to respect both the rules of Shabbat and the local custom.
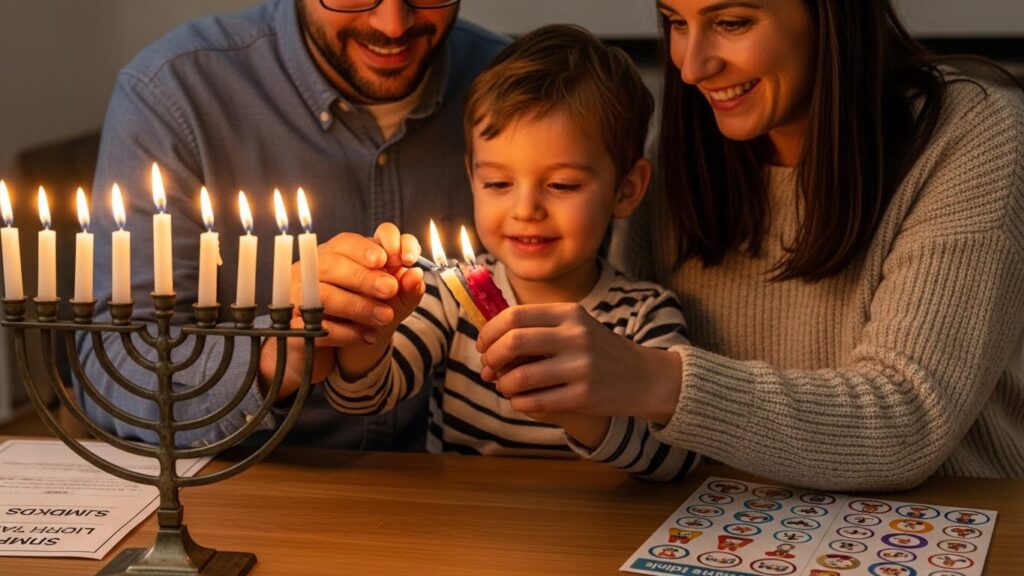
With kids — a short family lighting script + activities
Children love Hanukkah. Make the ritual short, clear, and joyful.
Family lighting script (approx 5 minutes)
- Gather — say a short line: “We light to remember the miracle.”
- Child sets the candles (right → left).
- Adult lights the shamash and recites the blessings.
- Child lights the newest candle under adult supervision.
- Sing a short song (like the Dreidel song) and enjoy a treat.
Kid-friendly activities
- Sticker chart: one sticker for each night — a small reward after eight nights.
- Coloring pages: printable menorah and dreidel pages.
- Simple crafts: paper hanukkiah or tactile menorah for toddlers.
- Short animation: a 30–60 second video demonstrating the steps. Use this on social channels to increase shares.
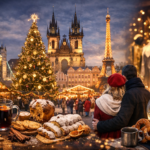
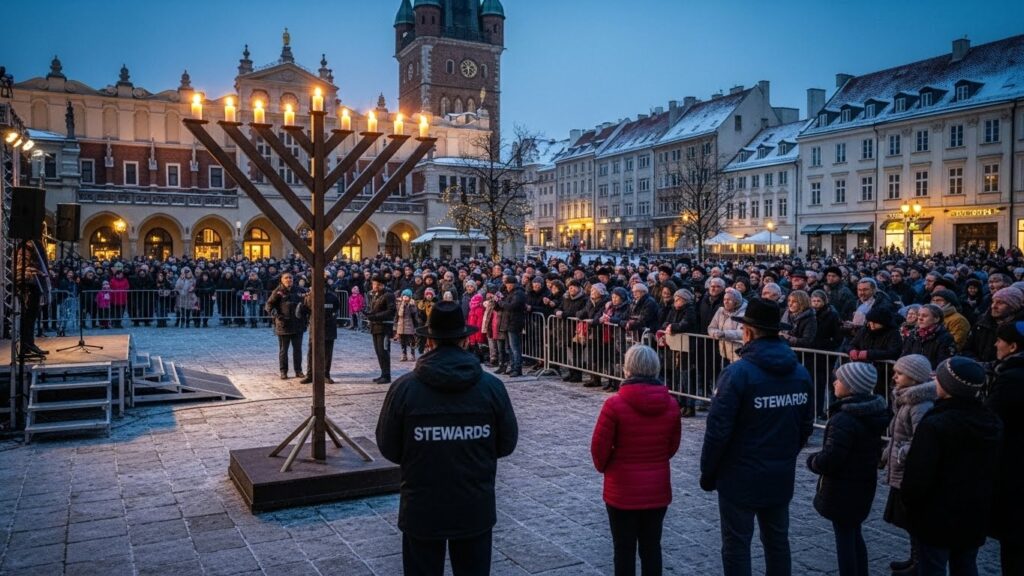
European spotlight: public menorahs & event tips
Public menorah events are a vivid part of modern Hanukkah in many European cities. They bring communities together and make the holiday visible to the wider public.
Event tips for organisers and attendees
- Confirm details: check local community websites and social media for time and place.
- Expect security: big events may have bag checks or police presence.
- Dress for winter: warm coats, scarves, waterproof shoes.
- Accessibility: provide step-free access, seating, and a family space.
- Share on social: encourage attendees to tag #TrendyOccasion and the city hashtag.
Cities with notable menorah events
- London — large public lightings in central squares and community hubs.
- Paris — public menorah nights near squares and cultural sites.
- Berlin — official menorah lightings at public spaces with music and speeches.
- Amsterdam — Dam Square events and local community nights.
Fashion, food & festive lifestyle
Fashion — what to wear
- Outdoor events: smart-casual warm layers — wool coat, scarf, boots, gloves.
- Family dinners: festive knitwear, smart trousers or dresses, comfortable shoes.
- Religious services: conservative or modest dress is suggested in many communities.
Food — classic and local twists
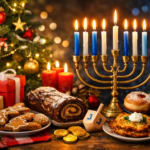
- Latkes — potato pancakes, crisp and golden.
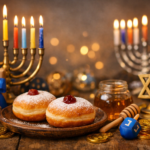
- Sufganiyot — jelly or custard-filled doughnuts, a beloved treat.
- European twists — gourmet fillings (e.g., chocolate, fruit curd) in Paris, fusion latkes in Berlin.
Comparison & tables
Table 1 — Night-by-night steps (compact)
| Night | Candles + shamash | Set direction | Light order |
| 1 | 1 + shamash | Right → Left | Light newest (left) |
| 2 | 2 + shamash | Right → Left | Light left → right |
| 3 | 3 + shamash | Right → Left | Light leftmost → right |
| 4 | 4 + shamash | Right → Left | Light leftmost → right |
| 5 | 5 + shamash | Right → Left | Light leftmost → right |
| 6 | 6 + shamash | Right → Left | Light leftmost → right |
| 7 | 7 + shamash | Right → Left | Light leftmost → right |
| 8 | 8 + shamash | Right → Left | Light leftmost → right |
Table 2 — Candles vs Olive Oil vs Electric (comparison)
| Option | Pros | Cons |
| Wax candles | Cheap, colourful, easy | Wax drips; some burn too fast |
| Olive oil lamps | Traditional, steady flame | Messier; needs more handling |
| Electric menorah | Very safe, visible | May not be accepted for the blessing |
Pros & Cons
Pros
- Clear step-by-step directions for how to light Hanukkah candles.
- Easy-to-read Hanukkah Blessings with transliteration and audio suggestions.
- Kid-friendly scripts, printable ideas, and event tips for European cities.
- Practical safety rules and troubleshooting.
Cons
- Some customs differ between communities — check local practice.
- Shabbat timing rules are special and may need rabbinic advice.
- Seasonal content peaks in November–December; plan evergreen internal links.
FAQs
A: Yes. Children can light with adult supervision. For formal obligation some families prefer an adult to recite the blessings, but many families happily let kids help or light under care.
A: Customs differ. Often an accidental extinguishing can be relit; if you need a formal halakhic ruling consult a local rabbi. The main practical rule is that lights were burning properly after the blessing.
A: Olive oil lamps are traditional and make a calm steady flame. Candles are easier to buy and use. Both are acceptable; choose what works for safety and ease.
A: A window facing the street (when safe) or a family table are common choices. Always follow building rules and be mindful of safety.
A: Electric menorahs are common for public displays for safety and visibility. Some religious authorities do not accept electric lights as fulfilling the blessing fully — note this on any event page.
Conclusion
This Guide Gives You everything needed to light Hanukkah candles confidently and safely,whether at home with family, in a classroom, or at a public menorah event. Follow the simple placement light with the shamash from left-to-right, and recite the blessings before lighting; these core steps remain constant across communities, though small customs may differ.